Introduction
In today’s digital landscape, web app development is crucial for businesses and developers alike. Whether you’re building a simple web application or a complex platform, understanding the fundamentals can help you succeed. This guide will walk you through the entire process of web app development, from choosing the right technology stack to deploying your application.
Step 1: Define Your Project Scope
Before diving into development, it’s essential to define your project scope. This includes understanding your target audience, core features, and overall goals.
- Identify your target users.
- List essential features.
- Set project milestones and deadlines.
Step 2: Choose the Right Technology Stack
Your technology stack will determine your project’s capabilities. Common stacks include:
Front-End Technologies
- HTML/CSS: Structure and style your app.
- JavaScript: Add interactivity and dynamic features.
- Frameworks: Consider React, Angular, or Vue.js for more advanced applications.
Back-End Technologies
- Node.js: A JavaScript runtime for building server-side applications.
- Python: Great for rapid development with frameworks like Django or Flask.
- PHP: A traditional choice for server-side scripting.
Database Options
- SQL (MySQL, PostgreSQL): Ideal for structured data.
- NoSQL (MongoDB, Firebase): Offers more flexibility for unstructured data.
Step 3: Create Wireframes and Mockups
Designing wireframes and mockups helps visualize the user interface (UI) and user experience (UX) before actual coding begins. Use tools like Figma or Adobe XD for this purpose.
Step 4: Start Coding Your Application
This is where the magic happens! Follow best practices for coding, including:
- Organizing your codebase with clear structure.
- Using version control systems like Git.
- Writing clean, maintainable code.
Here’s a simple example of a basic HTML structure for your web app:
<!DOCTYPE html>
<html lang="en">
<head>
    <meta charset="UTF-8">
    <meta name="viewport" content="width=device-width, initial-scale=1.0">
    <title>My Web App</title>
</head>
<body>
    <h1>Welcome to My Web App</h1>
    <p>This is a sample application.</p>
</body>
</html>
Step 5: Test Your Application
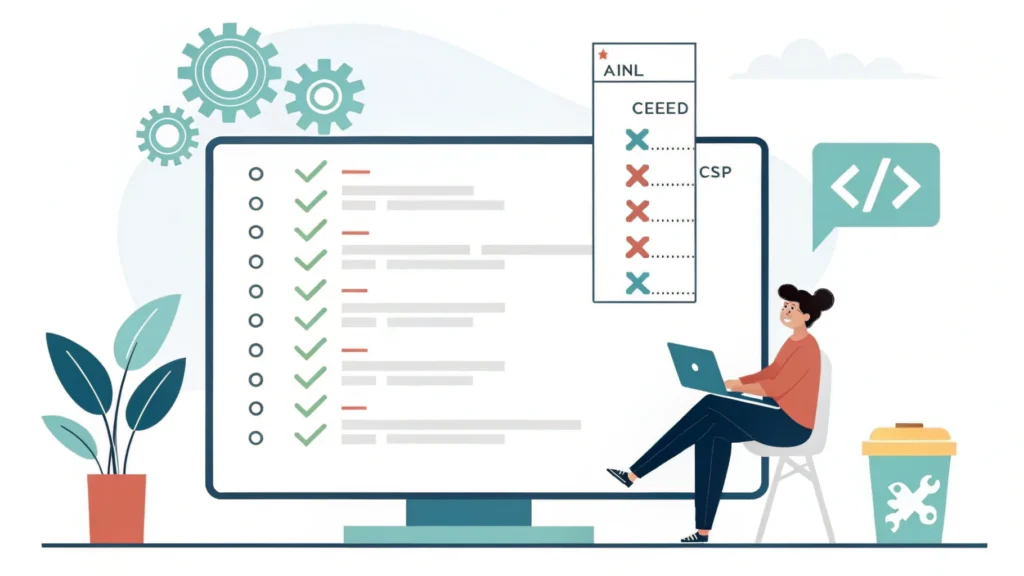
Testing is a crucial phase in the development process. Ensure you test for:
- Functionality: All features should work as intended.
- Usability: The app should be user-friendly.
- Performance: Your app should load quickly and efficiently.
Step 6: Deploy Your Application
Once testing is complete, it’s time to deploy your web app. Choose a reliable hosting provider like AWS, Heroku, or DigitalOcean. Here’s a brief overview of using Git for deployment:
git add .
git commit -m "Deploying my web app"
git push origin master
Step 7: Monitor and Maintain Your Application
Post-deployment, it’s essential to monitor your application for issues and gather user feedback. Regular updates and maintenance will keep your app running smoothly.
FAQs
What tools can I use for web app development?
There are many tools available, including WebToolsLab for various utility needs. You can also check out our Button Generator to create custom buttons quickly.
How do I optimize my web app for SEO?
Utilize meta tags, optimize your content, and ensure your site is mobile-friendly.
Can I minify my code?
Yes! Using tools like CSS Minifier and JS Minifier can help improve load times.
Conclusion
Web app development can seem daunting, but by following these structured steps, you can create efficient and effective applications. Remember to leverage the right tools and continuously learn to keep up with the evolving technology landscape. Happy coding!