Introduction to Web App Development
Web app development involves creating applications that reside on remote servers and are accessed through web browsers. Unlike traditional desktop applications, web apps provide users with the flexibility of accessing features and data from anywhere, making them essential in today’s digital landscape.
Understanding the Basics of Web App Development
Before diving in, it’s important to understand the components involved in web app development:
- Frontend Development: This is the client-side of the application that users interact with. It includes everything users see and experience on their screens.
- Backend Development: This server-side component manages data and serves it to the frontend. It handles user authentication, database interactions, and application logic.
- Databases: Where data is stored and managed. Common databases include MySQL, PostgreSQL, and MongoDB.
Step-by-Step Guide to Building a Web App
Step 1: Planning Your Web App
Before coding, outline the purpose, target audience, and key features of your web app. Create wireframes to visualize the user interface and workflow.
Step 2: Choosing the Right Tech Stack
Your tech stack should be chosen based on your app’s requirements. Here’s a common stack:
- Frontend: HTML, CSS, JavaScript (with frameworks like React or Angular)
- Backend: Node.js, Express.js, or Django
- Database: MongoDB or MySQL
Step 3: Setting Up Your Development Environment
Install necessary software and tools:
- Text Editor: Use Visual Studio Code or Atom.
- Version Control: Set up Git for version control.
- Node.js: Install Node.js for backend development.
Step 4: Developing the Frontend
Start coding the frontend using HTML, CSS, and JavaScript. Here’s a simple example of a webpage:
<!DOCTYPE html>
<html lang="en">
<head>
    <meta charset="UTF-8">
    <meta name="viewport" content="width=device-width, initial-scale=1.0">
    <title>My Web App</title>
    <link rel="stylesheet" href="styles.css">
</head>
<body>
    <h1>Welcome to My Web App</h1>
    <button>Click Me</button>
</body>
</html>
Step 5: Developing the Backend
Set up your server and API endpoints. Here’s a basic example using Node.js and Express:
const express = require('express');
const app = express();

app.get('/api/data', (req, res) => {
    res.send({ message: 'Hello from the backend!' });
});

app.listen(3000, () => {
    console.log('Server is running on port 3000');
});
Step 6: Connecting the Frontend and Backend
Use AJAX or Fetch API to connect your frontend with the backend. Here’s how to fetch data:
fetch('/api/data')
    .then(response => response.json())
    .then(data => console.log(data.message));
Step 7: Testing Your Web App
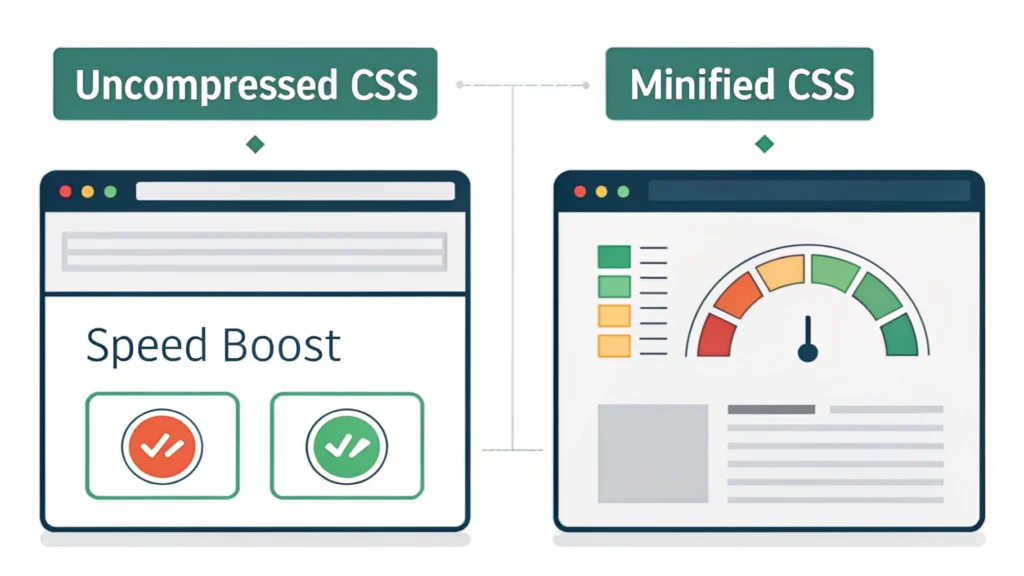
Conduct thorough testing for usability, performance, and security. Tools like Responsive Simulator can help you test your app on different devices.
Step 8: Deployment
Deploy your web app using platforms like Heroku, AWS, or DigitalOcean. Make sure to set up proper environment variables and configurations.
Common FAQs about Web App Development
What programming languages are used in web app development?
Common languages include HTML, CSS, JavaScript for frontend, and Python, Ruby, PHP, or Node.js for backend development.
What tools can help with web app development?
There are numerous tools available, including:
How long does it take to develop a web app?
The timeline varies based on complexity, features, and team size, ranging from weeks to several months.
Conclusion
Web app development is an exciting field that combines creativity with technical skills. By following this step-by-step guide, you can create a functional web application that meets user needs. For more tools and resources, visit WebToolsLab (All Tools).