Introduction to Web App Development
Web app development has become a cornerstone of modern technology, allowing users to interact with applications directly through their web browsers. This guide will provide step-by-step instructions on how to build web applications, focusing on essential tools and best practices.
Understanding Web App Architecture
Before diving into the development process, it’s crucial to understand the architecture of web applications, which typically include:
- Front-end: The client-side interface users interact with, usually built using HTML, CSS, and JavaScript.
- Back-end: The server-side that processes requests, handles data, and connects to databases.
- Database: Stores application data and can be SQL (like MySQL) or NoSQL (like MongoDB).
Step-by-Step Guide to Building a Web App
Step 1: Define the Purpose and Functionality
Before coding, outline the purpose of your web app and its key features. Consider the target audience and how they will interact with the app.
Step 2: Choose Your Tech Stack
Select a combination of technologies for the front-end and back-end development:
- Front-end: React, Angular, or Vue.js
- Back-end: Node.js, Django, or Ruby on Rails
- Database: PostgreSQL, MongoDB, or Firebase
Step 3: Set Up Your Development Environment
Install necessary software and tools:
- Text Editor: Use Visual Studio Code or Sublime Text.
- Version Control: Set up Git for tracking changes.
- Package Manager: Use npm for JavaScript projects.
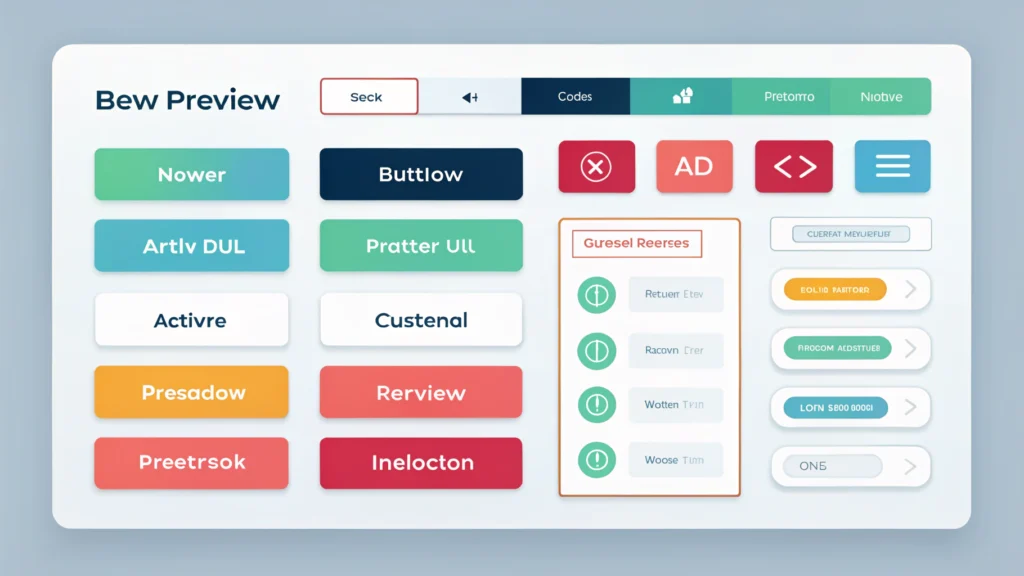
Step 4: Design the User Interface
Creating a user-friendly interface is essential. Utilize a Button Generator to create cohesive buttons and elements for your app. Ensure the design is responsive and works on various devices.
Step 5: Develop the Front-end
Start coding the front-end using HTML, CSS, and JavaScript. For example, here’s a simple HTML structure:
<!DOCTYPE html>
<html lang="en">
<head>
  <meta charset="UTF-8">
  <meta name="viewport" content="width=device-width, initial-scale=1.0">
  <title>My Web App</title>
</head>
<body>
  <h1>Welcome to My Web App</h1>
</body>
</html>
Step 6: Set Up the Back-end
Develop the server-side logic. If using Node.js, you can set up an Express server like this:
const express = require('express');
const app = express();

app.get('/', (req, res) => {
  res.send('Hello World!');
});

app.listen(3000, () => {
  console.log('Server is running on port 3000');
});
Step 7: Connect to the Database
Integrate your application with a database to store and retrieve data. For instance, using MongoDB:
const mongoose = require('mongoose');

mongoose.connect('mongodb://localhost/myapp', { useNewUrlParser: true, useUnifiedTopology: true });
Step 8: Test Your Application
Testing is crucial. Use tools like Jest for JavaScript testing. Ensure that all functionalities work as expected and fix any bugs that arise.
Step 9: Optimize and Minify Code
Improve your web app’s performance by minifying CSS, HTML, and JavaScript files. Use tools like CSS Minifier, HTML Minifier, and JS Minifier to reduce file size.
Step 10: Deploy Your Web Application
Choose a hosting platform (like Heroku or AWS) to deploy your application. Follow the platform’s instructions to upload your files and make your app live.
FAQs about Web App Development
What are the main programming languages used in web app development?
The primary languages are HTML, CSS, and JavaScript for front-end development, while back-end can involve languages like Node.js, Python, Ruby, and PHP.
How long does it take to develop a web app?
The development time can vary significantly based on complexity, but simple applications may take a few weeks, while larger projects can take several months.
What are some popular frameworks for web app development?
Popular frameworks include React, Angular, and Vue.js for front-end, and Express.js, Django, and Ruby on Rails for back-end.
Conclusion
Web app development is a rewarding process that combines creativity and technical skills. By following the steps outlined in this guide, you can create a functional and user-friendly web application. For more tools and resources, visit WebToolsLab to enhance your development workflow.