Introduction to Web Design Development
Web design development is a crucial aspect of creating effective websites. It combines aesthetics, functionality, and usability to deliver an engaging user experience. In this guide, we’ll explore the step-by-step process of web design development, covering essential tools and techniques along the way.
Understanding the Basics of Web Design
1. Define Your Purpose and Target Audience
Before diving into design, it’s important to define the purpose of your website and identify your target audience. Do you want to create a portfolio, an online store, or a blog? Understanding your audience helps tailor your design choices to their preferences.
2. Wireframing Your Ideas
Wireframing is an essential step in web design development. It allows you to create a blueprint of your website layout, showing where elements will be placed. Tools like Button Generator can help you visualize buttons and calls to action.
3. Choose a Design Style
Your design style should reflect your brand identity. Decide on color palettes, typography, and imagery that resonate with your audience. Remember to keep your design consistent across all pages.
Step-by-Step Guide to Web Design Development
Step 1: Setting Up Your Development Environment
Before coding, set up your development environment. You’ll need:
- A code editor (like Visual Studio Code or Sublime Text)
- Web browser for testing (such as Chrome or Firefox)
- Version control system (like Git)
Step 2: HTML Structure
HTML (HyperText Markup Language) is the backbone of your website. Start with a basic HTML structure:
<!DOCTYPE html>
<html lang="en">
<head>
    <meta charset="UTF-8">
    <meta name="viewport" content="width=device-width, initial-scale=1.0">
    <title>Your Website Title</title>
</head>
<body>
    <header>
        <h1>Welcome to My Website</h1>
    </header>
    <main>
        <section>
            <h2>About Us</h2>
            <p>This is a brief description of your website.</p>
        </section>
    </main>
</body>
</html>
Step 3: Adding CSS for Styling
CSS (Cascading Style Sheets) is used to style your HTML elements. Start by linking a CSS file in your HTML:
<link rel="stylesheet" href="styles.css">Here is a simple CSS example:
body {
    font-family: Arial, sans-serif;
    margin: 0;
    padding: 0;
}

header {
    background: #333;
    color: #fff;
    padding: 20px;
    text-align: center;
}
For optimizing your CSS files, consider using the CSS Minifier.
Step 4: Implementing JavaScript for Interactivity
JavaScript enhances user interaction on your website. Include a script at the bottom of your HTML before the closing body tag:
<script src="script.js"></script>Here’s a simple JavaScript example:
document.addEventListener('DOMContentLoaded', function() {
    alert('Welcome to my website!');
});
For efficient JavaScript coding, check out the JS Minifier.
Step 5: Testing Your Website
Testing is crucial before launching your website. Use tools like the Responsive Simulator to check how your design appears on different devices.
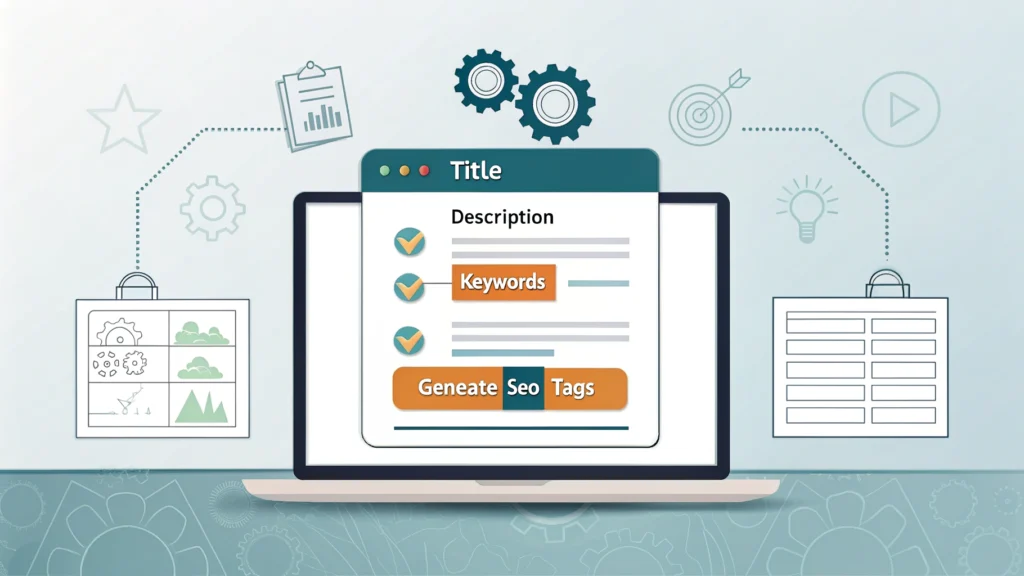
Step 6: SEO Optimization
To make your website discoverable, optimize it for search engines. Use the Meta Tag Generator to create essential meta tags for SEO.
Common FAQs About Web Design Development
What tools do I need for web design development?
Basic tools include a code editor, a web browser, and version control systems like Git. Additionally, you may want to use design tools like Adobe XD or Figma.
How important is responsive design?
Responsive design is critical as it ensures your website looks good on all devices, improving user experience and SEO ranking.
Can I learn web design development without coding experience?
Yes! There are many resources available online to help beginners learn HTML, CSS, and JavaScript.
Conclusion
Web design development is an essential skill in today’s digital landscape. By following the steps outlined above, you can create stunning and functional websites. Remember to utilize various tools to enhance your workflow and optimize your design process. For more tools and resources, visit WebToolsLab.